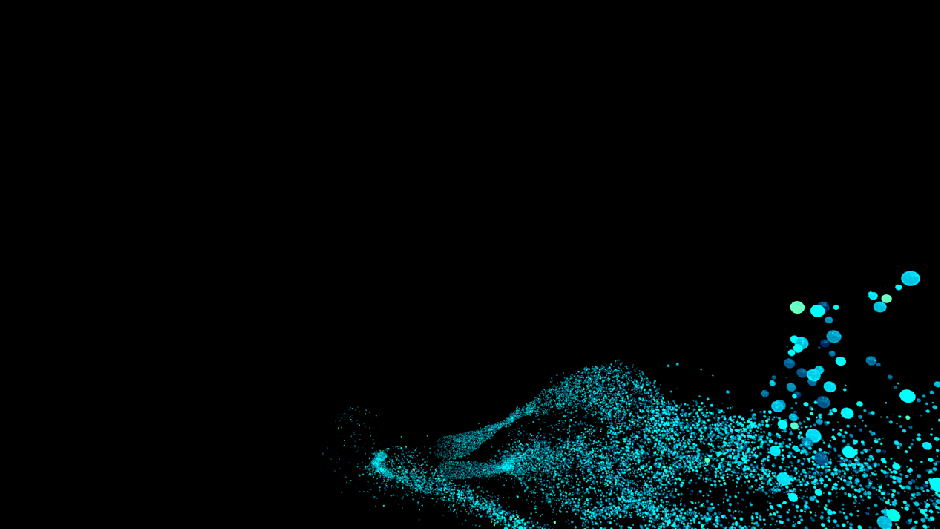
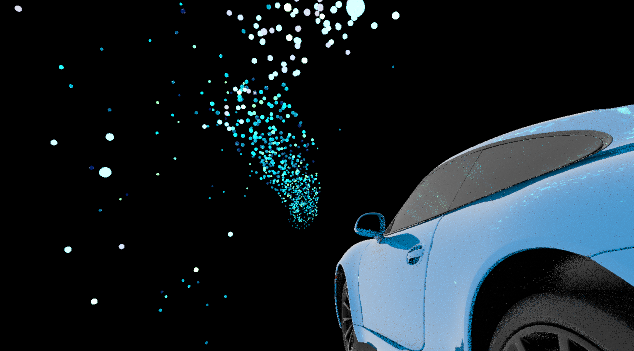
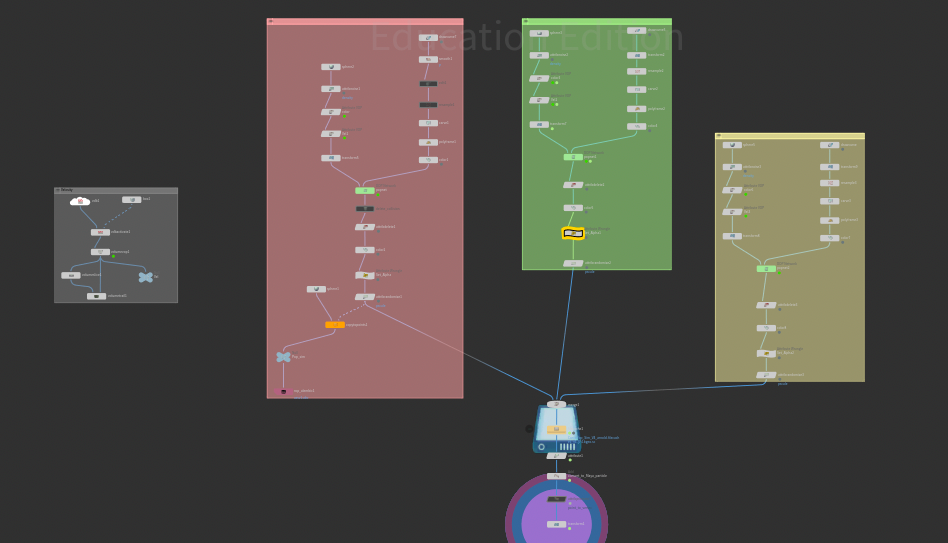
The trail FX is coming from three curve-force pop networks. The elements of these three particles are different, include the shape of the curve, and their pop size and number, all customer designed and under control.
Take one trail as the example.
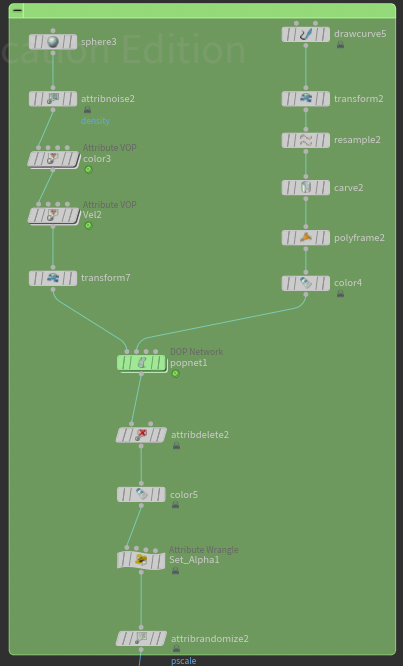
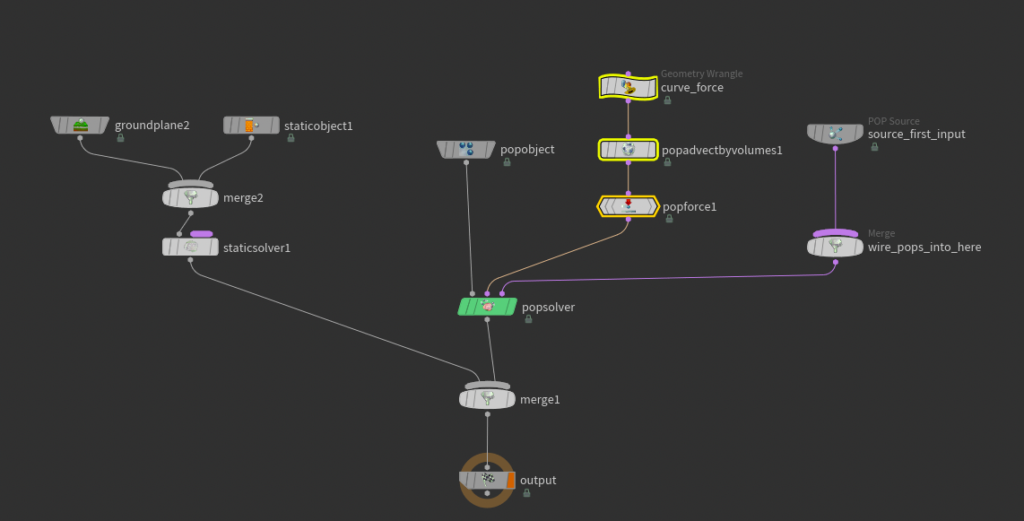
It is build on a basic particle setting, the particle comes from a sphere, and follow the curve shape.
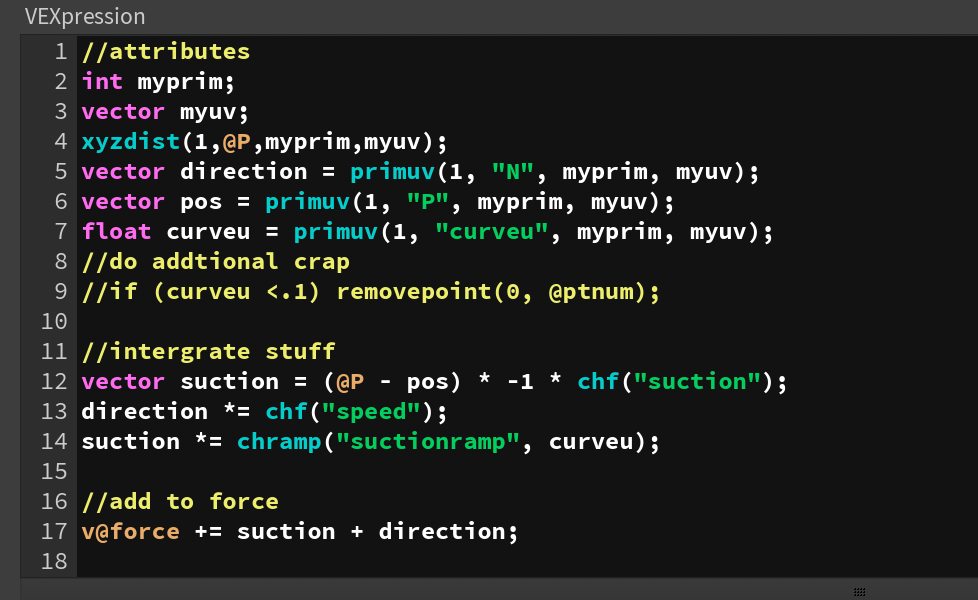
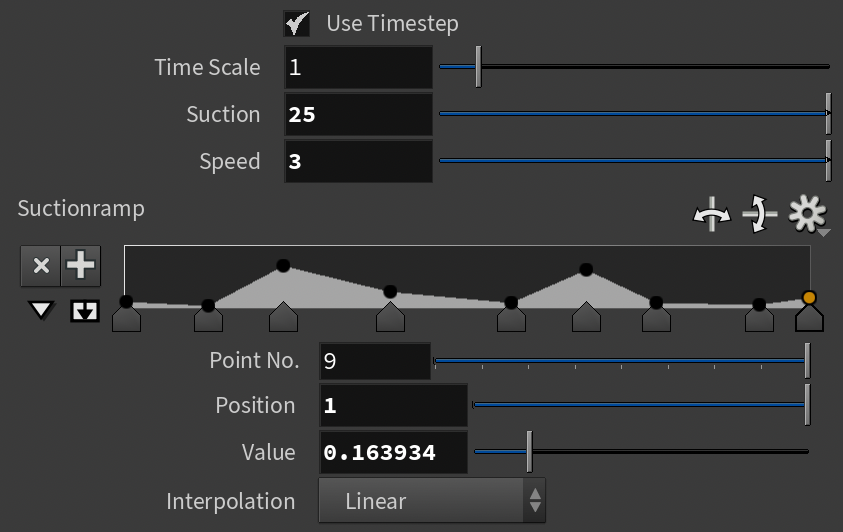
Inside the pop network, I give it a curve force that build by coding. The code is came from Youtube tutorial that created by Tim van Helsdingen