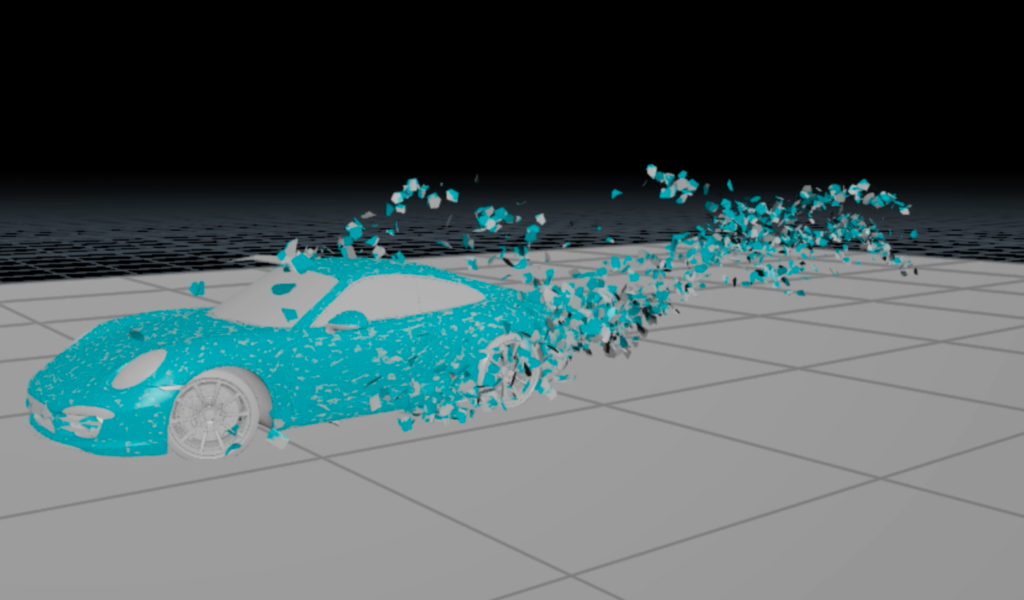
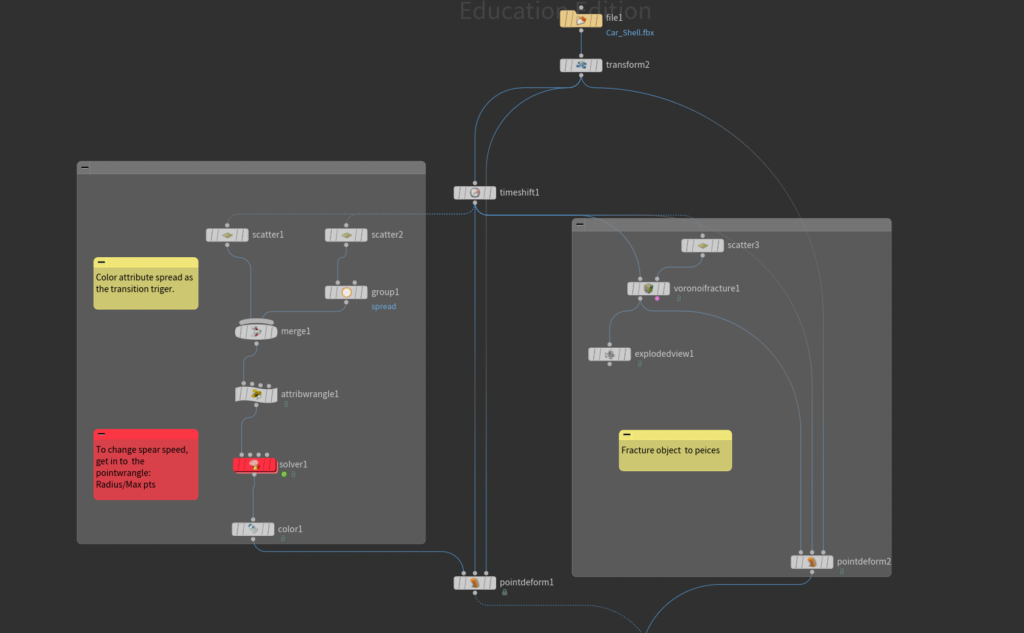
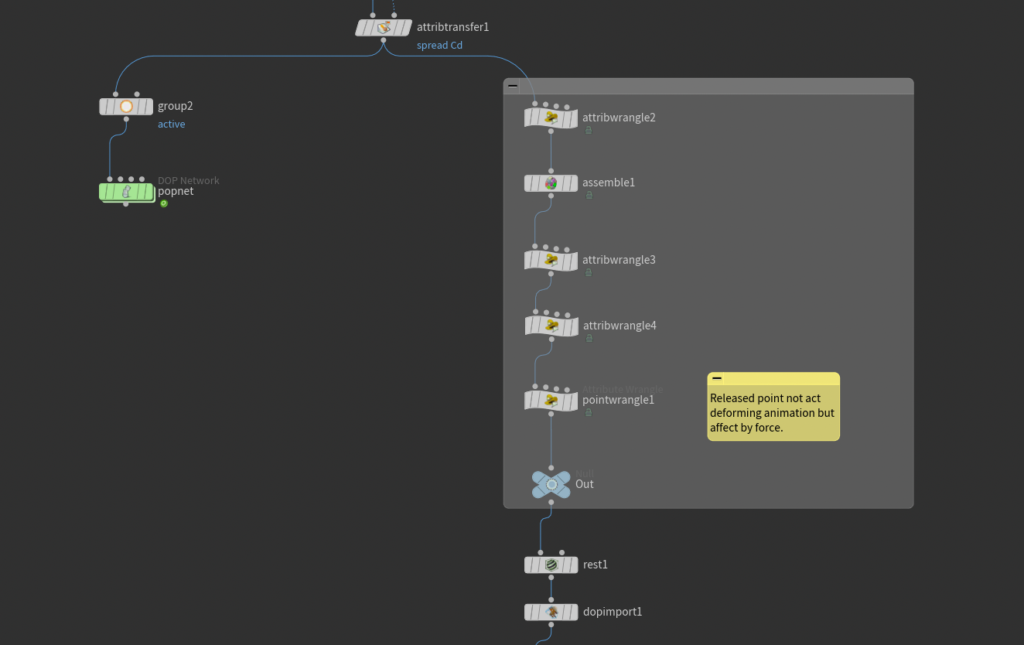
The particle trails test was starting on an RBD test. We want the particles around the car and show its shape, so I tried to use the color attribute transfer information to make the RBD peel. With the wind force, it looks pretty, especially the end trail part.
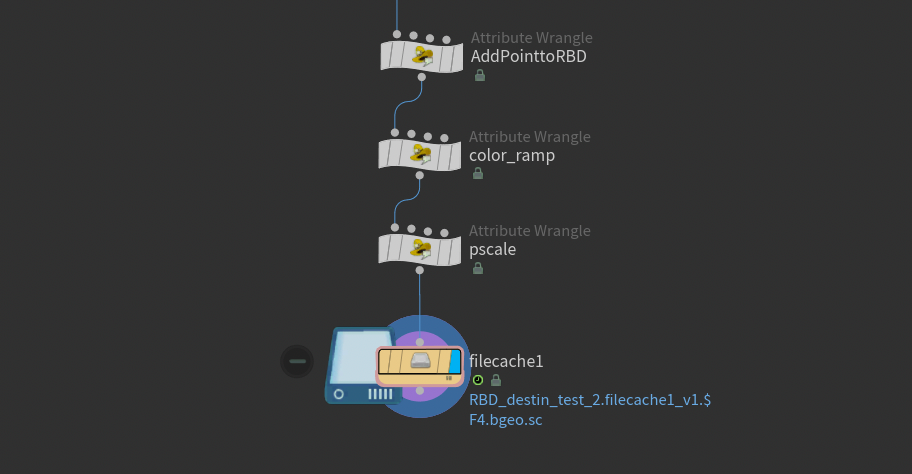
So I base on the RBD peel effect and add points to each pieces’ center, and then transfer it to look like particles.
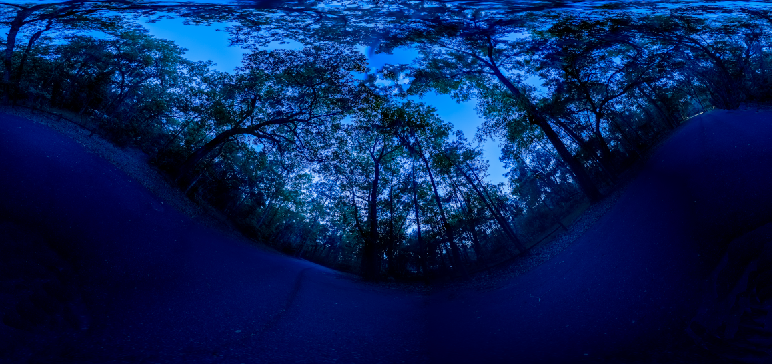
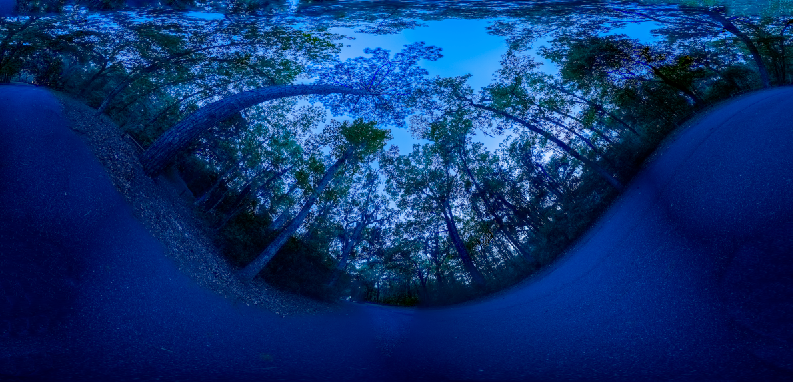
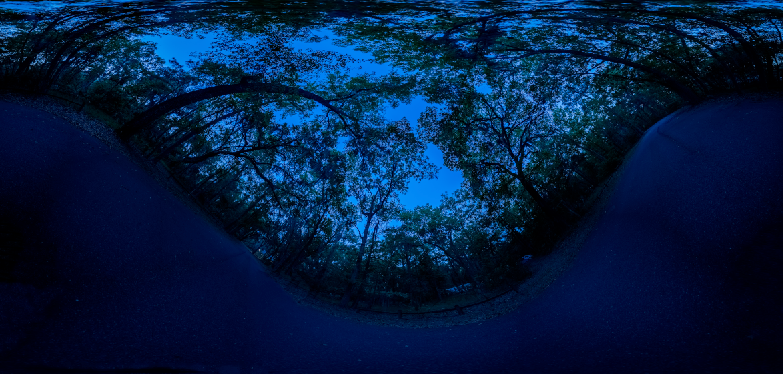
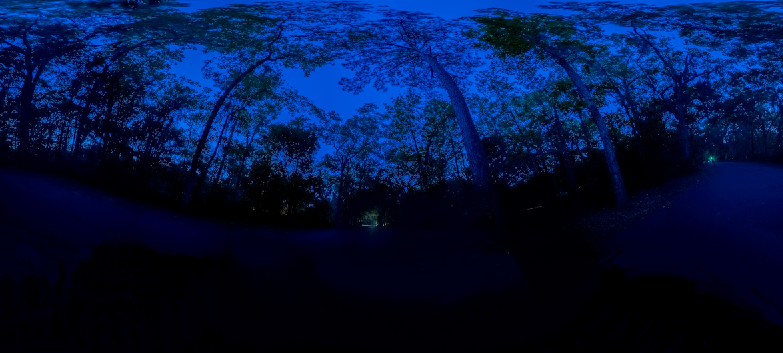
Re - shot HDR
Last week, when we shot our backplates, our time is pretty intent, since we need sunset footage, so we just got HDR with a big chrome ball. But in the HDR test, it didn’t look very well for the car’s reflections, so I had to re-shoot them and cover the whole scene.